


ODI Emig2 Pro V2 Grip 2 & 4 Stroke Lock-On
399.00 kr
Beskrivning
PASSAR 2 & 4 TAKT CROSS GUMMIHANDTAGET ÄR INGJUTET I GASRULLEN O PÅ KOPPLINGSSIDAN ÄR HANDTAGET INGJUTET I EN PLAST HYLSA SOM SÄTTS PÅ STYRET O SKRUVAS FAST .
SOFT GUMMI
HANDTAGEN ÄR LÄTTA ATT MONTERA OCH SITTER FAST
MEDFÖLJER 5 ST OLIKA GAS TRISSOR FÖR ATT DET SKA PASSA OLIKA MÄRKEN
(OBS!! Passar ej 50 65 85 cc finns en gas rulle trissa att köpa till för att det ska passa.)
After 5 years of success with the original EMIG V2 Lock-On Grip System, the collaboration between ODI and Jeff Emig has taken the feel of motocross grips to the next level. Countless hours of design along with multiple test sessions with top riders, to develop a grip built specifically around a Pro’s needs that also provide maximum bike control to every level of rider. The New EMIG PRO Grip will be the choice of all motocross riders who want extra-soft compound for improved comfort, excellent controll and less hand fatigue. Designed by Jeff Emig, developed and manufactured in-house at ODI Grips in Riverside, CA.
GRIP FEATURES
Raised center JE logo pattern conforms to palms, improves padding & reduces vibration
Extra-soft, undercut independent ribs deliver lateral & rotational traction
Alloy reinforced end caps provide extra durability against grip blowout
ODI exclusive locking clutch-side collar attaches the grip providing 360° of Security
Simple Installation and Removal Without Waiting for Glue to Dry
Throttle Tube Included with Snap On Cam to match more models
No safety wire required means longer grip life, even in the event of a crash
Kit provides Cams for both 2 & 4-Stroke Applications
Cams that are included: Kit – Includes Cam:A,B,J,C & D
V2 LOCK-ON GRIP SYSTEM INSTALLATION INSTRUCTIONS
CLUTCH SIDE: Remove old grips and clean handlebars thoroughly. Slide the ODI clutch grip onto bar. The grip should slide easily onto the bars until the final inch of the grip where it will become progressively tighter to on the handlebar. Be sure that the grip is completely on the bar so that the outer end of the grip is touching the handlebar. Once in place, tighten the Allen bolt using a 3mm Allen key (15 inch/lbs) to secure the grip. The Allen bolt and ODI clamp should be checked periodically and replaced if ever found damaged. THROTTLE SIDE: Use the Application Chart on the reverse to select the appropriate throttle cam. Snap cam into position on to the throttle grip. You should hear an audible ”click” when the cam is fully snapped into place.
NOTE: Some grip patterns will require that you clock the cam in order to achieve your desired grip position before installation.
Unscrew bolts to open the throttle housing as if you are replacing your throttle tube. Insert throttle cable(s) into cam on the new grip making sure that the cables are seated correctly in the cam and are not being pinched. Reinstall throttle housing cover.
USING FULL-WRAP HANDGUARDS?
ODI Lock-OnTM Grips can easily be modified to work with ”full-wrap” handguards by removing the end caps. Follow these simple steps to remove ODI end caps:
2) 3)
1)
Carefully use a sharp blade to score the grip along the inside edge of the outer circle of each grip. Use a small punch (screwdriver handle) to knock out the end of the grip.
Carefully remove any excess rubber that may interfere with the throttle tube, allowing for non- restricted turn on the handlebar.
NOTE: After opening the grip end, do not run the throttle tube without the full-wrap handguards or ODI end plugs to close off the end of the grip. This could allow for dirt and debris to build up and cause interference with proper functioning of the throttle.
Aftermarket Handlebars Aggressive Knurling Patterns:
Some aftermarket handlebars have very aggressive knurling pattern on the clutch side grip area which can make your ODI Lock-On Grips very difficult to install. This extra aggressive knurling helps improve grip adhesion on standard grips. However, with ODI Lock-On Grips, the extra knurling is not necessary. With the ODI Lock-On Grips, you have absolute adhesion from ODI’s patented Lock-On Grip System for 100% Slip-Free Performance, Guaranteed. ODI’s simple Lock Ring and 3mm Allen-head bolt provide ease of installation and removal.
To install ODI’s Lock-On Grips onto these types of handlebars, you must slightly modify the surface of the Aftermarket Handlebars’ knurling to bring them back down to the 7/8″ Outside Diameter. Once these few simple steps are completed, your ODI Lock-On grips will slide over the handlebar surface without interference. We recommend a light filing and then sanding with medium grit wet/dry sandpaper, as follows:
- 1) Use Masking tape to mask off the handlebar just past the knurling on the clutch side of the handlebar. This will keep your handlebars finish looking fresh.
- 2) Take a metal file, using even strokes, diagonally file along the knurling area to gently knock down the knurls and create a smoother, slightly smaller outside diameter.
- 3) Complete this task all the way around the handlebar to conform to an even smoothed out knurled pattern and softer finish.
- 4) Once you have filed the knurls down, all the way around, you’ll want to gently test fit the grip onto the bar. DO NOT use force. Once you can securely slide the grip over the knocked down knurls, you will want to remove the grip to sand and finish.
- 5) Use a medium grit, wet/dry sandpaper to de-burr the surface and create a smooth transition for your new ODI Lock-On Grips to slide onto.
- 6) Remove masking tape, install your grips and go ride!
NOTE: Recommended torque specs for your 3mm Allen-Head bolts are 15 Inch/Lbs. Do not over-tighten and risk stripping the head of the bolt..
Follow us: www.instagram.com/odigrips or www.facebook.com/odigrips
Relaterade produkter
-
Rea!
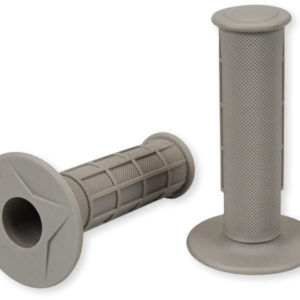
GUMMIHANDTAG GRÅ
99.00 kr Lägg till i varukorg -
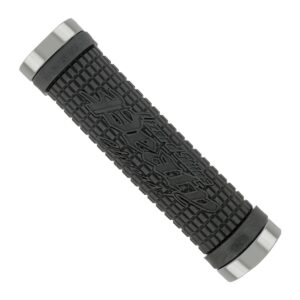
Handtag LIZARD SKINS Lock-On Peaty 130 X 30,5mm – Svart Cykelhandtag Jetski ATV
399.00 kr Lägg till i varukorg -

ODI V2 System Snap on Throttle Cam Honda CRF110 2019-23
149.00 kr Lägg till i varukorg -
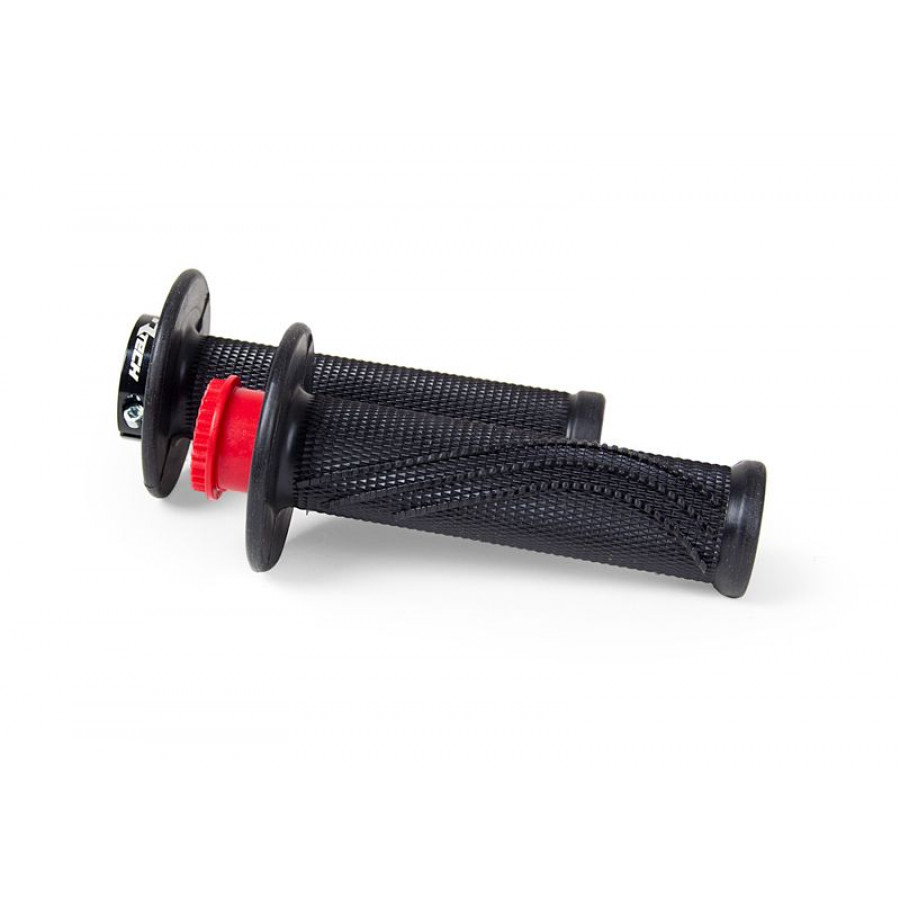
RTECH R20 LOCK-ON GRIPS WAVE SVART
349.00 kr Lägg till i varukorg